Notice
All sales are Final. No returns or exchanges.
Description
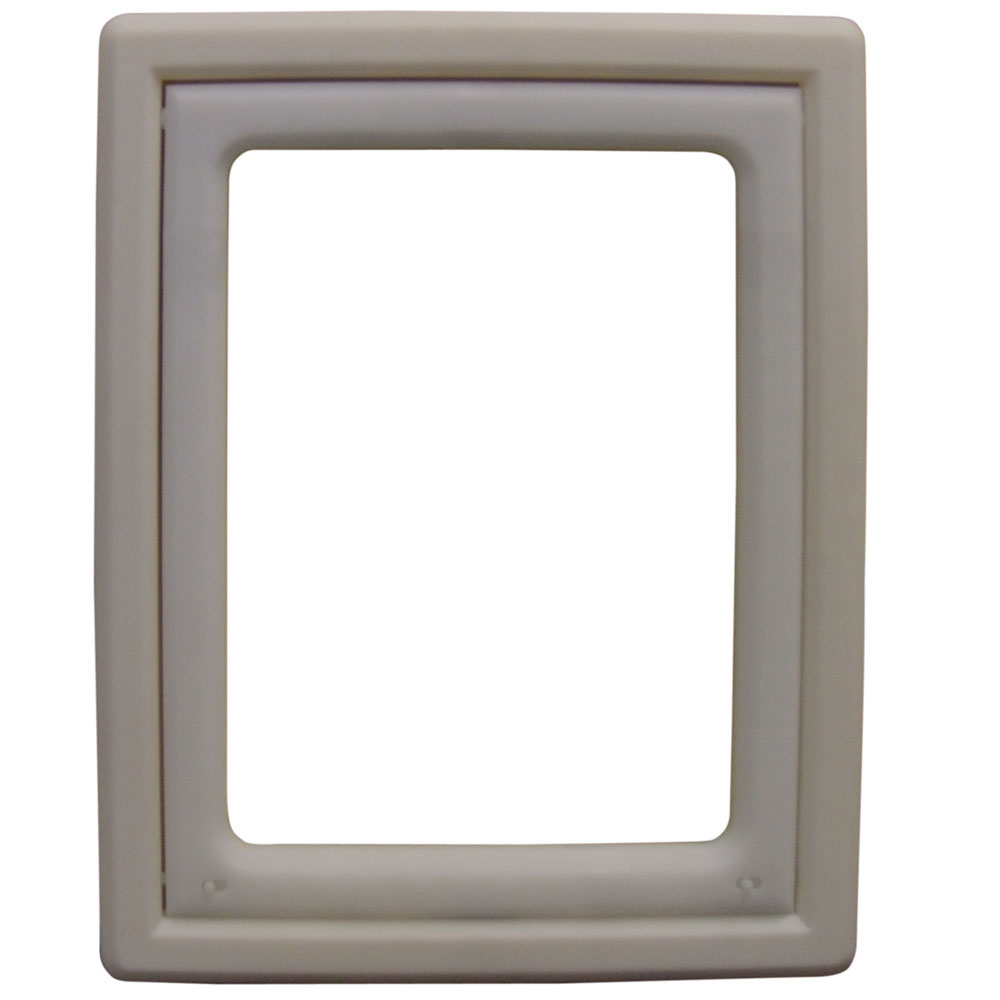
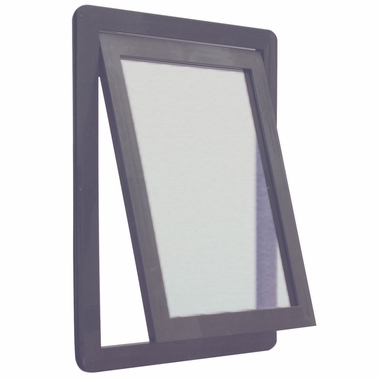
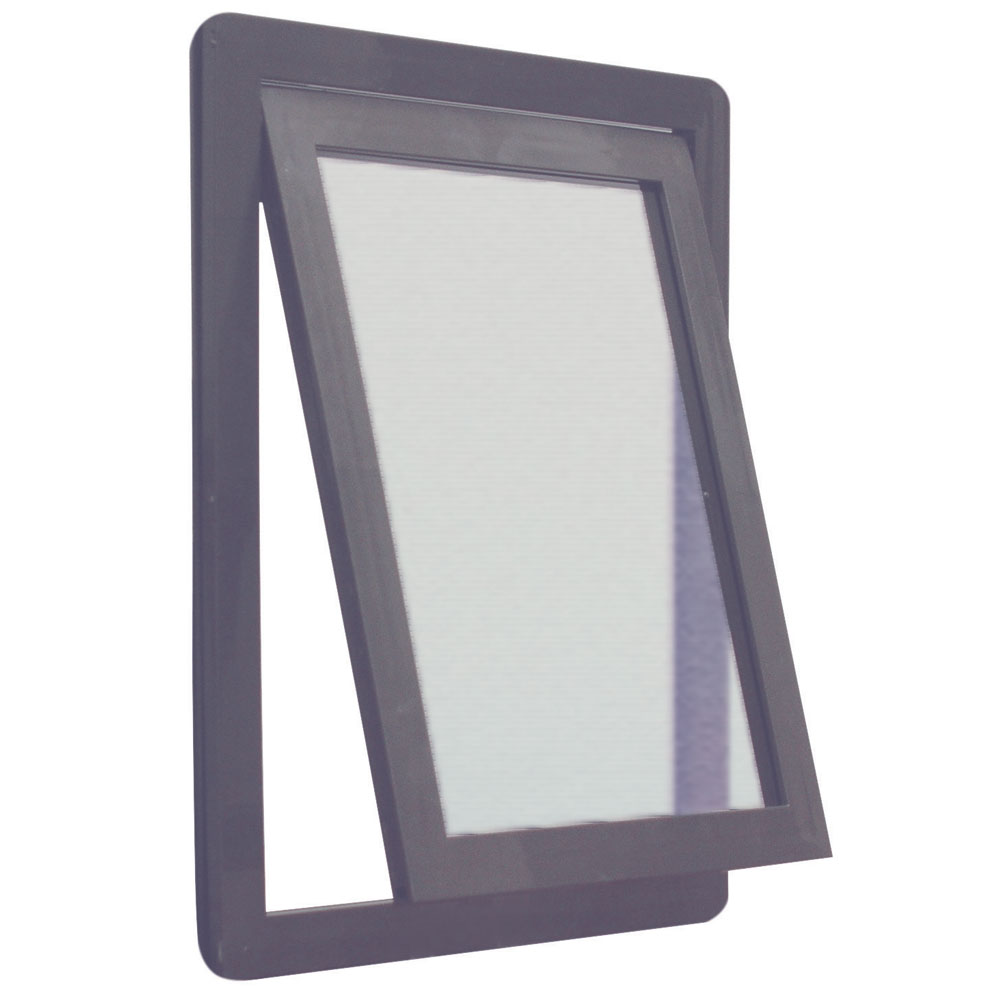
Ideal Pet Screen Fit Pet Door simplify your life with the Ideal Pet Products plastic Screen Fit pet door. Get your furry friend in out of the heat and keep unwanted pests out without any fuss or scratching at your screen. Specially designed to be installed in screen door, this door is simple to install with easy to understand instructions. Keep your pet safe and happy with an Ideal Pet door.
Key Features:
- Grey plastic frame flap with clear plastic insert and magnetized corners
- Easy installation
- Dual slide locks
- Screen door or window screen Not Included
- Fits pets up to 20 Lbs
- Thermo-plastic construction is impact-resistant
- Mounts to most standard screen doors and can be installed quickly and easily
Useful Information
View Ideal Pet Products Screen Fit Pet Door Assembly Instructions.
| Pet Door Style/Size | Pet Door Model # | Pet Door Flap Size | Recommended Weight Range of Pet |
|---|---|---|---|
| Screen-Fit | SFPD | 9-¾" x 10-½" | 2 to 20 Lbs. |
How to Measure Your Ideal Pet
To determine the correct size door simply measure the width (A) and height (B) of your pet.
(A) Measure the widest point of your pets shoulder
(B) Measure from the top of your pets back (just behind his head) to the bottom of chest.


Assembly Instruction
The Screen-Fit Pet Door is Specially designed to turn any screen into a pet door. It will retrofit any screen patio door, window screen or screen storm door!


- Remove screen fram from window or screen door selected to install your screen Fit Pet Door.
- Lay it on a hard, flat surface. Make sure to protect surface from utility knife used to cut screen.
- Measure your pet from floor to top of shoulder. Position the top of the frames 2" taller than your pets shoulder. Important: Under no circumstances should the bottom of the frames be less than 3" from the bottom edge of the screen.
- Place "outside" frame under screen. Make sure up arrows are facing in the correct direction. Align outside frame evenly to screen or window frame. When frame is positioned correctly there are nine posts on the right side of the frame.
- Firmly push screen down over the protruding posts (9) places to secure screen to fram. Holding fram in place, use a utility knife with a sharp (new) blade to cut screen on the inside of the outside frame to make to make opening for the flap assembly (see Fig. 1). Cut all four sides. Also cut a slit in the screen at the top hinge location and a slit in the bottom lock location.

- Locate flap assembly in outside frame by aligning the hinge posts with the grooves in the outside frame. Mate two outside frames by aligning posts and cavities (see Fig. 3). When properly aligned the frames will hold the inside flap assembly in position. Important: Do not cut the clear plastic on the inside flap assembly.

- Start assembly by pressing together by hand. COmplete assembly by placing a piece of wood on top of frame and gently tap together with a hammer, making sure there is no gap between the frames.
- Trim any excess screen fragments using a utility knife with a sharp (new) blade to allow inside flap assembly to swing freely (see Fig. 3).

- Replace screen frame into window or screen door.


